A recipe I’ve been tinkering with to create a thin crust pizza without excessive kneading, weighing pizza oven or use of a stand mixer. However you do need a hand mixer with kneading hook attachment for this particular recipe. The dough starts off sticky, which is the secret to good finished dough. Embrace the sticky!
We rent. Our apartment is as customized as it can be under the terms of our lease and the appliances in our kitchen are far from anything enviable. Our counters are too narrow and few to hold a stand mixer. We have a basic oven/range. It turns on, it heats, has four burners, one of which has to be turned on with the help of a match. You get the idea.
I am of the mind that anything is possible in the kitchen. Pizza however is a hard one, if you have a basic oven. too many moving parts.
The Basic Pizza Baking Problems:
The Crust
The crust cooks through while the toppings overcook. Or the cheese is at the perfect melt and the crust is still soggy or undercooked.
The Toppings
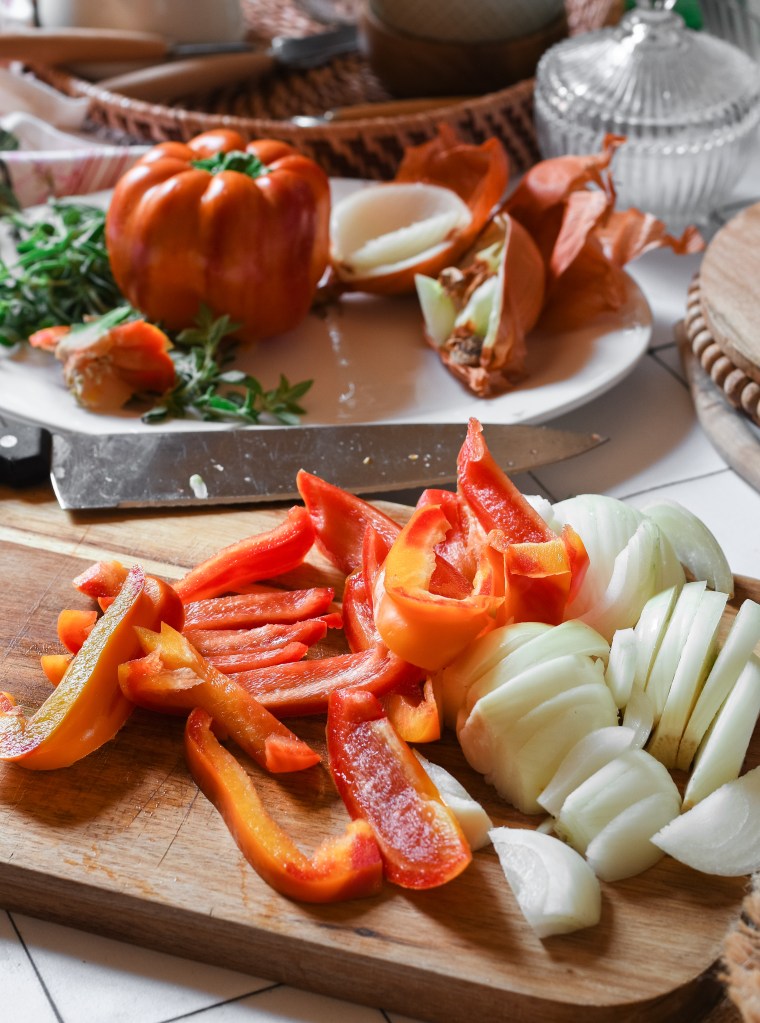
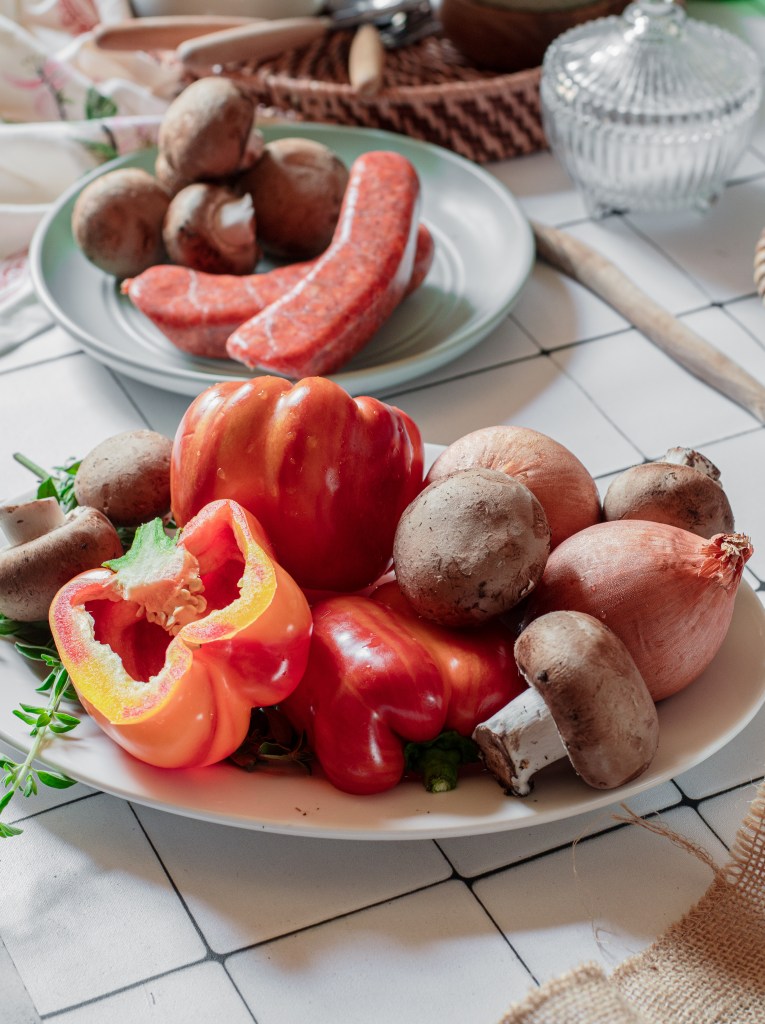
Items like onions, mushrooms and peppers need either a quick high heat or a sautee, both of which not always possible in an oven or while timing out the crust of pizza.
Microwave, is the solution:
A quick toss in olive oil and a spin in the microwave. Yes, the microwave. It is a great kitchen tool and I use it often. You should too.
How to:
Slice pepper and onion, mushrooms and toss with a tablespoon of oil, pinch of salt and optionally dried oregano. Set in a microwave safe dish and microwave for 2minutes.
Set aside and work on the crust while they cool off.
The Cheese
It needs to be melted and a little crisp in places.
A good high heat and quick bake will get these results.
The Crust
If thin crust is what you’re striving for, which is exactly what this post is about then you want a crisp light slightly chewy crust.
When time allows, I use the Poolish Method which is a two day dough. One day hands off to get all the yeast, yeasting and a second day for kneading and rising.
If time is tight, 1 hour is just enough to give you a pizzeria style crispy thin crust.
All you need is water, fast acting yeast, salt and flour.
Fast Acting or Instant Yeast vs Active Yeast
What’s the difference between fast acting and active yeast?
Which type of yeast should you use?
Is one type of yeast better than the other?
The difference between active and instant yeast
Active yeast needs to be activated in water and usually a pinch of flour or sugar. This is a slower process and I prefer it for bakes that need a preferment, like heavy sweet breads fortified with eggs and butter. Think brioche, Ukrainian Easter Bread, Baba au rhum.
Instant yeast can be plopped directly in with all the other ingredients and it gets to work immediately. This is your option for dinner rolls, cinnamon rolls, quick sandwich bread and pizza.
Thin Crust Pizza Dough
1 1/4 cup room temperature water
2 1/2 cups + more if necessary (scooped and leveled)
1/2 tsp sugar
1/2 tablespoon dry instant yeast
1 tsp kosher salt
Special equipment
Non Stick Pastry Mat
Hand mixer with dough hook attachment
*Recipe notes: Set up the oven for baking on the lower and middle racks before preheating. If you have an oven that was manufactured in this century or is an upscale model, you can bake on the middle rack and only need to adjust the temperature.
Method:
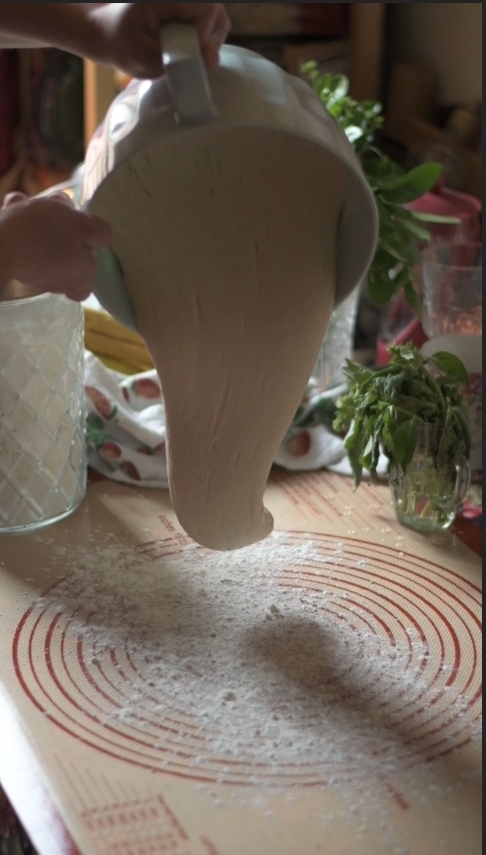
- Combine all ingredients into a large mixing bowl. Mix well with a hand mixer with dough hook attachment for 5 minutes, moving the mixer around the bowl and through the dough. Once the dough has come together and has no visible lumps, and can be pulled up in an elastic ribbon, cover and set to rise for 45 minutes.
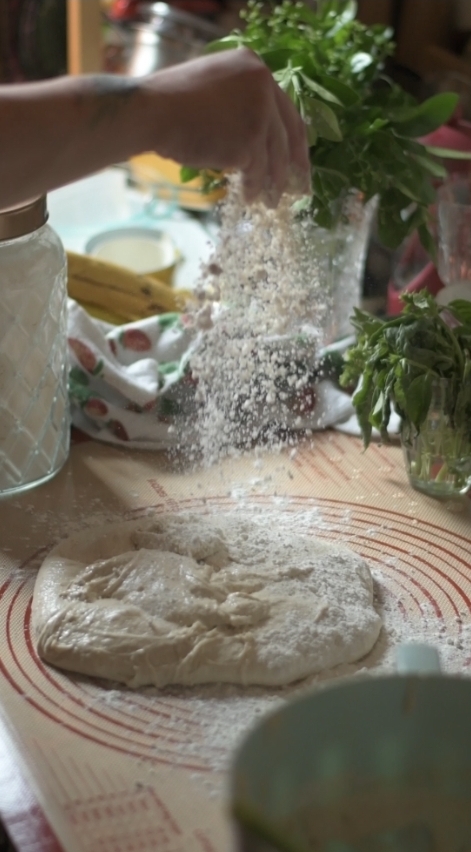
- On to a lightly floured surface, preferably a nonstick pastry mat, scoop out the dough. Flour your hands and sprinkle a light dusting over the flour, just enough to handle the dough but keep it slightly sticky. Set aside 1/2 cup flour and take generous pinches as your kneading.
- The dough will stick at the beginning, using floured hands or a pastry scraper form the dough into a round. Lift up the sides and fold inward, starting at the top, moving to the left and right sides and lastly the bottom flap.
- Flip around the dough and repeat.
- Using the heel of the hand stretch the dough out.
- Pull the dough back towards the middle with your fingers and rotate as you pull out and knead in.
- Repeat until the dough forms a uniform ball that does not stick to the hands. The dough should still have some give and should not be tight or feel solid.
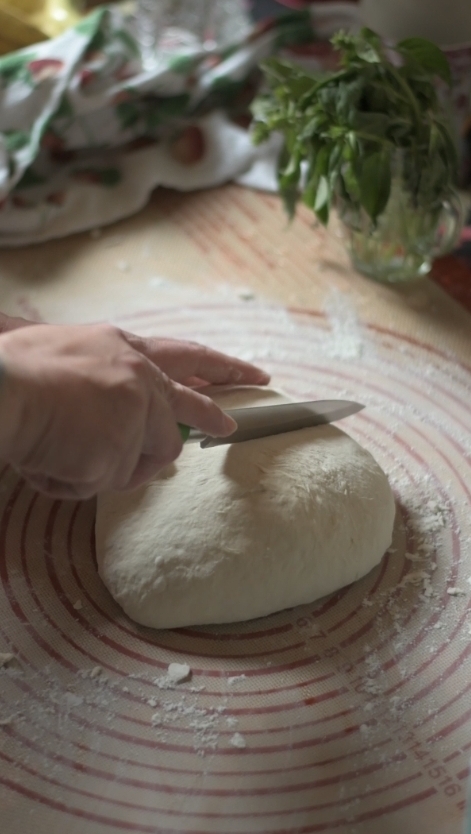
- Set dough aside for 15 minutes
- Cut the dough into two. the middle will be fairly sticky. This is good.
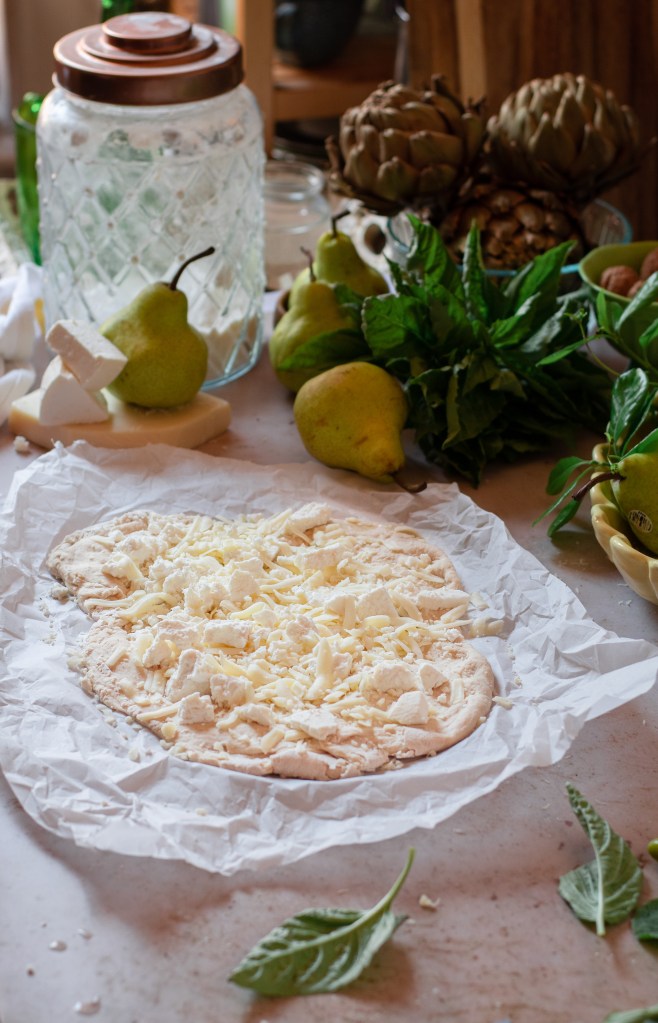
- Dust your hands with flour and begin to stretch out the dough, either directly on top of a parchment lined sheet or starting on the pastry mat and moving to the sheet.
- Form a thin round or square or organic shape of your choice, paying attention to how thin the dough feels in the center and edges.
- Preheat your oven to 475F( ideally 10 minutes before baking) dough needs the initial shock of high heat. A slow warm up will not give your dough desired results.
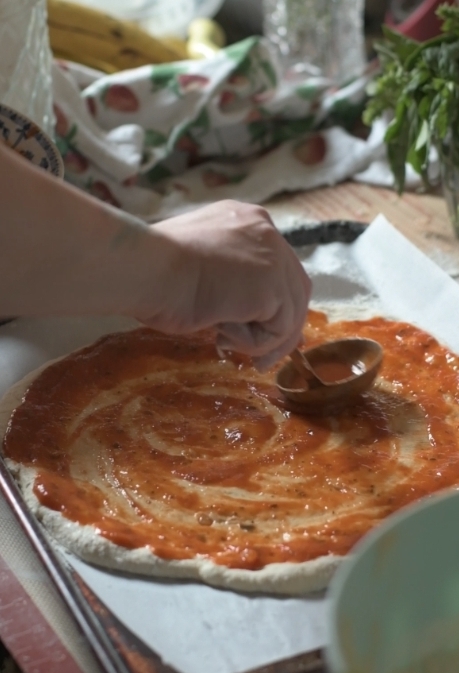
- Add a thin layer of tomato sauce and drizzle of oil over the dough.
- Bake the dough starting on the bottom rack of your oven.
- Set a timer for 13 minutes
- Remove after timer ends and add toppings, a few dots of tomato sauce thinned with oil and bake on the middle rack at 450F for 7-10 minutes or until all the cheese has melted and slightly browned on the edges.